Did you know Americans drink about 400 million cups of coffee a day? When you put it like that, it’s no wonder the coffee maker is one of the hardest working appliances in the kitchen. If you’re a coffee drinker, you’re relying on the performance of this trusty machine every morning to help you start your day. So knowing how to clean a coffee maker the Viva® way will ensure your brew is as fresh as the start to your day.
To keep your coffee maker performing at its best, experts recommend a deep clean about once a month and taking daily steps to keep all its parts squeaky clean. An important part of the coffee maker maintenance process isn’t just scrubbing away the visible stuff, it’s about cleaning what you can’t see too.
Mold, yeast, and bacteria can flourish in a coffee maker. A recent household germ study found that coffee machine reservoirs are one of the top 10 germiest places in our homes. One of the common bacteria found in the machine can make coffee taste less than stellar. So that first sip is one of five signs indicating you need to clean your coffee maker.
5 Signs You Need to Clean Your Coffee Maker
1. Your coffee doesn’t taste as good or has a bitter taste
2. You brewed 40 pots of coffee or 60 single-serve cups
3. Longer than usual brewing times or it doesn’t complete a brew cycle
4. Visible film or residue in the carafe, reservoir, or any areas of the machine
5. Grounds found in brewed coffee
The best way to get a super clean coffee maker is to start with a deep clean. Then, using a simple and effective daily cleaning process you’ll be giving your coffee maker the TLC it needs.
What do you need to clean your coffee maker?
Cleaning supply list:
● About 4 cups of distilled white vinegar or a descaling agent
● Dish soap
● Water
● 2 tablespoons of lemon juice
● Ice
● Table salt
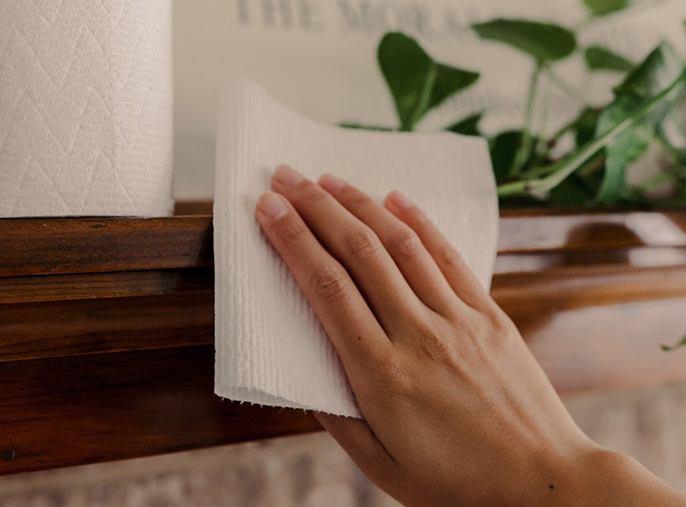
● Viva® Signature Cloth™
Vinegar, really? Yes! According to the household germ study, distilled white vinegar is frequently used as a household cleanser and can be effective on stains and surfaces. Vinegar is inexpensive, easy to obtain, and environmentally friendly. It’s about five percent acetic acid, which helps it break down the structure of dirt, oils, films, stains, and bacteria.
How to deep clean and descale your drip coffee maker
Clean the water reservoir and filter basket:
1. Remove all parts and wash with warm soapy water.
2. Wipe all parts with a Viva® Signature Cloth™ paper towel dampened with vinegar.
3. Return parts to the coffee maker.
4. Add equal parts undiluted white vinegar and water to the water reservoir.
5. Let stand for 30 minutes.
6. Run the water and vinegar through a brewing cycle.
7. Run two full brew cycles with just water, changing the water after each cycle. (Water should come through completely clear.)
Deep clean the coffee carafe:
1. Fill the carafe with 3 tablespoons of salt, 2 tablespoons of lemon juice, and a cup of crushed ice.
2. Stir the solution around, cleaning the sides with salt and ice as the lemon juice removes the stains.
3. Rinse with cold water, then wipe clean with Viva® Signature Cloth™ paper towels.
How to clean your drip coffee maker daily
Clean the water reservoir:
1. Dump out unused water in the reservoir.
2. Use Viva® Signature Cloth™ paper towels to dry the lid and the inside.
3. Leave the lid open to air out.
Clean the filter basket and carafe:
1. Dump out the used grounds from the filter basket and any leftover coffee from the carafe.
2. Wash with warm, soapy water using Viva® Signature Cloth™ paper towels, since damp kitchen sponges harbor a variety of germs.
3. Dry with Viva® Signature Cloth™ paper towels.
How to clean a single-serve coffee machine
Follow the above steps for deep cleaning and descaling. Then, use the daily routine below.
1. Empty the water reservoir and any other removable parts daily and wash in warm soapy water. Scrub and dry with Viva® Signature Cloth™ paper towels.
2. Leave the lid off to let your machine air out.
3. Wipe down the outside of your machine, as well as the surface it sits on, with a damp Viva® Signature Cloth™ paper towel.
The final step is to savor your favorite cup of coffee and the difference a cleaning routine makes. With Viva® on hand, you can feel equally energized by your morning cup of Joe and your cleaning routine.
 A member of the Kimberly-Clark family, Viva® Towels are known for being a quality paper towel product. Special features like its stretchy, cloth-like texture make it strong and absorbent enough for larger messes in tight, hard to reach places. Read reviews and get tips for cleaning appliances, mirrors, patio furniture and more with Viva® Paper Towel.
Kimberly Clark
Contact Details:


